Ceiling Water Damage: Follow These Steps to Help With Repairs
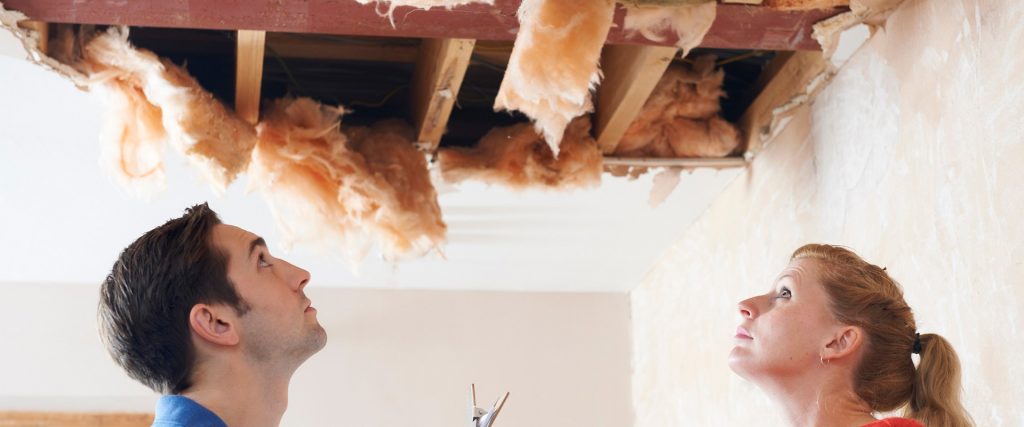
At Action 1 Restoration, we see many types of water damage in the homes that we’re called to service. One of the areas that we see impacted the most frequently is the ceiling. While dripping water is an easy way to see there’s a problem, water damage can also be identified by brown spots on the ceiling, blistering paint, and sagging drywall. If you’ve noticed any of these issues caused by a leak in your home, it’s important to address the problem as soon as possible. We recommend following the steps below to minimize the damage you experience.

Step 1. Determine the Cause of the Leak
Identifying where the leak is coming from is one of the most important parts of handling this type of situation. However, that can be easier said than done. If you’re not sure whether the leak is the result if a failed roofing system or a broken pipe, you may not even know how to get started. To help you identify the root cause of the leak, take a look at the signs below.
Signs of a Failed Roof Causing a Ceiling Leak
– The leak occurs after it rains
– Soggy or wet drywall is present in the attic
– The water is coming from an attic (there’s no piping above it)
– Discolored water (this is common with water falling from the roof)
Signs of a Broken Pipe Causing a Ceiling Leak
– Steady dripping that continues day and night
– Continued leak no matter the outside weather
– No moisture or dripping coming from the attic
2. Address the Cause of the Leak
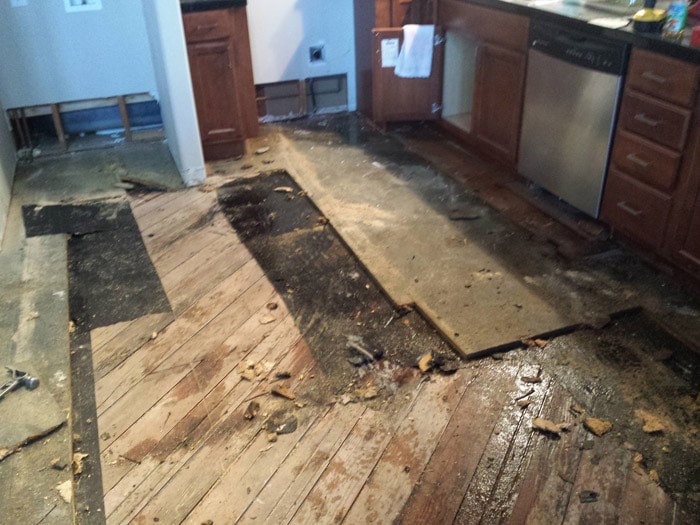
No matter what the cause of the leak is, it’s important to address it as soon as possible. Waiting will only result in worsening damage as additional moisture seeps into the drywall. This can increase the amount of damage you have to restore, whether it’s in the ceiling or on the floors where the water has dripped. Since FEMA estimates the growth of mold can occur just 24 hours after initial exposure, this also means your risk of mold growth will increase every hour.
Water Damage Caused by Bad Weather
If your ceiling water damage is the result of inclement weather such as a rainstorm, you won’t be able to do much until the storm is over. However, if you do have access to your attic, it’s a good idea to place a bucket underneath the leak in your ceiling to prevent it from getting into the drywall or the ceiling of the floor below. While your roof will still be damaged, this can help minimize excess damage by preventing additional moisture from going into the ceiling.
Once the storm is over, it’s important to repair the opening that allowed the water to enter your home in the first place. This may require the help of a roofer, especially if you’re not able to see the damaged area for yourself. We always recommend hiring a contractor if you’re not comfortable climbing on your roof or just need advice making sure the repairs are done the right way.
Water Damage Caused by a Bad Pipe

At Action 1 Restoration, we know the relief you can feel once the source of water has been identified and repaired. While this is an important part of the journey to recovery for your home, it’s not the last one. It’s important to continue with the steps below in order to ensure your home is restored properly and is safe to live in.
3. Get the Damaged Materials Out
Allowing drywall to sit until it dries can cause mold, mildew, and discoloration. This can also result in the moisture seeping into other areas of the ceiling, which will cause more damage than what you started with. It’s also important to note that the materials inside of your ceiling can take weeks or even months to fully dry. This can mean it will take a long time to see the full extent of the damage if you wait.
To avoid running into problems associated with allowing drywall to naturally dry, we recommend tackling the damage right away. This should begin with carefully cutting out the drywall that has been damaged by the water. It’s best to use a sharp tool that will precisely cut the section you want to remove so that you don’t run the risk of making the damaged area larger. It’s also important to be careful while cutting to ensure that you avoid hitting any wiring that might be located above the ceiling.
4. Dry Out the Wall Interior
Removing the damaged drywall will uncover the moisture that remains inside of the wall. We understand that it can be disheartening to see this, especially if you’ve never dealt with water damage before. However, by moving forward with industrial fans, you can work to quickly dry this moisture and get your structure back in good condition once again. If the area is small, one fan should be enough for adequate drying. However, if you have a large space to address, then you’ll want to add one or two more industrial fans to the mix.
No matter how many fans you end up using, make sure they are pointed directly at the damaged area on your ceiling. We also strongly encourage the use of a dehumidifier in the room to help get additional moisture out of the space as rapidly as possible. Leave these on for several days, periodically checking to make sure the area inside of the ceiling is continuously drying.
5. Assess Damage and Replace Materials
Waiting for the structure to dry is perhaps one of the most difficult parts of fixing a ceiling leak. Unfortunately, there’s nothing you can do until the structure is fully dry and there is no more moisture left behind. However, once this happens, you can get to work assessing the damage that has occurred. Use a flashlight to look around and identify any materials inside the ceiling that are warped and structurally unsafe. This should include any materials that have mold or mildew growth present, including softwood and insulation.
Once you have a full view of the damage, it will take time to remove the materials that cannot be saved. If you’re not comfortable doing this yourself, don’t hesitate to hire a contractor for help. However, if you are confident in your abilities, you can get started with the careful removal of damaged materials. Once finished, it will be crucial to replace anything that was removed, which may also necessitate help from a professional.
When the inside of the ceiling has been recovered to its original state, you’ll need to replace the drywall that makes up your ceiling. Once it’s set in place and secure, it can be painted to match the color of the rest of the ceiling.
Do You Need Fast and Immediate Home Restoration Services?
Many homeowners rely on help from trained and experienced restoration technicians when ceiling damage from a leak occurs. If you’re not comfortable dealing with this on your own, never hesitate to hire a professional to help you. Someone who is trained to do this type of work, such as our team at Action 1 Restoration, will be able to make sure the restoration is done the right way. We even have a full inventory of tools, such as industrial fans and dehumidifiers, that we bring with us, so you don’t have to invest in appliances you’re unlikely to use again.
While drying is an important part of the service that a restoration technician offers, it doesn’t stop there. A huge part of our job is to protect the structural integrity of your home. This is why we replace materials that have been damaged and must be removed. This includes the drywall that had to be initially cut out, which can be difficult to re-install if you don’t have the right experience or tools. Once this has been painted, it will look just like it did before the damage ever occurred.
Recovering from Ceiling Water Damage
Water damage on your ceiling has the potential to leave your home weak and unsafe. This is why it’s crucial to quickly address the leak as soon as you notice it. While many tasks you can do on your own, our team at Action 1 Restoration strongly encourages you to hire a professional if you don’t feel comfortable taking on the job. Many times ceiling leaks are from a leaking or burst pipe, if the pipe bursts, the amount of damage becomes significantly more to deal with. Restoration technicians in particular, will be there to help you throughout your journey in making your home whole again.


